Since this car will have a dry sump oiling system instead of a wet sump, the stock oil pan is replaced with a more shallow and more heavy duty oil plan with a oil scavange pump. I tackled the oil scavenge pump first and this was definitly a neat project for me since I haven't done much engine related projects like this in the past. Here is a pic of the oil pump parts in the HPD packaging.

The first thing that needed to be done was the installation of the bearings in the pump cover. The pump cover needed to be heated to 248 degrees (or close to it) so that the metal would expand and allow the bearings to be installed. I put the pump cover in the oven at 245 degrees for 20+ minutes and sure enough the bearings went in very easily.

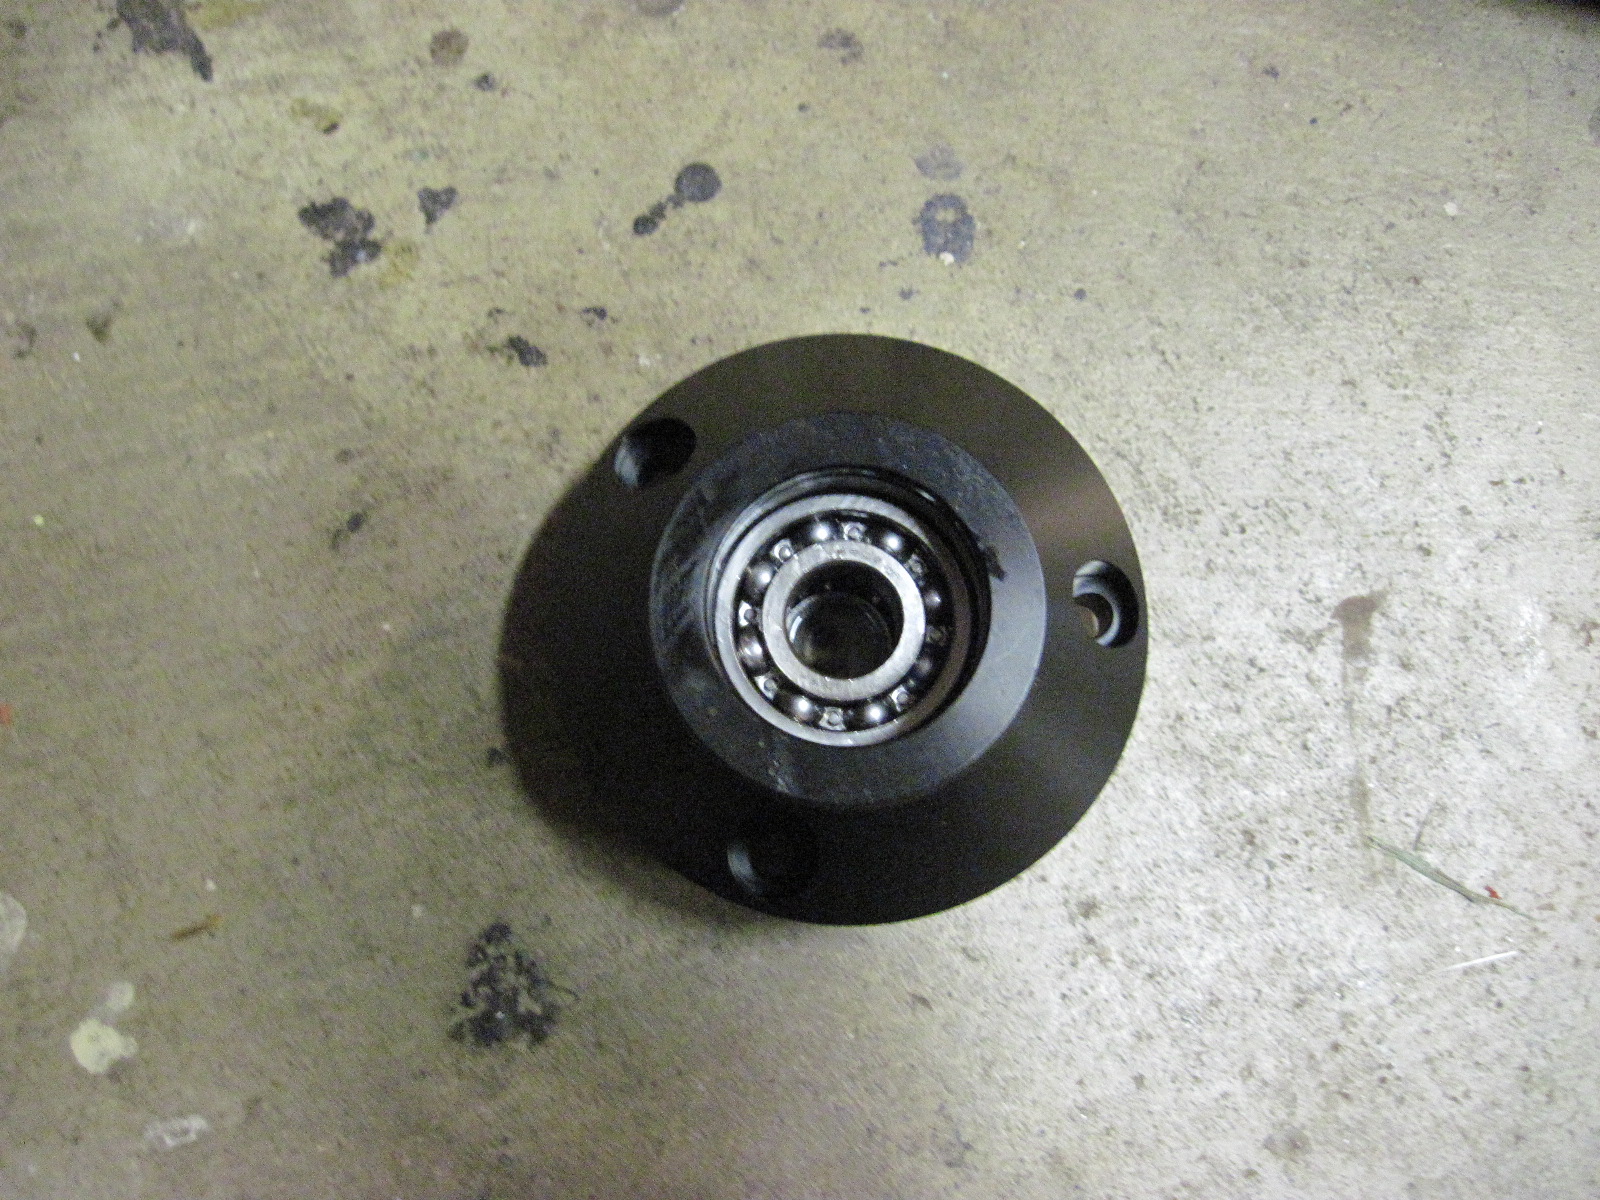
There are bearings on both sides of the pump cover and they are also held in with circlips. An oil seal is then installed over the larger bearing and that is also held in by a circlip. Then the shaft is installed


Next, the rest of the pieces are installed on the shaft. However woodruff keys are used to keep the inner rotors turning with the shaft and those needed lapping in order to remove small amounts of material so that they would fit in the slots on the shaft. Per the instructions, I lapped them by spraying WD-40 on 600 grit sandpaper and moving the woodruff keys on the sand paper until they fit in their slots.
The pic on the left below shows the first inner rotor installed and the pic on the right shows the assembly with the first outer router installed along with the first scavenge port.


This process is repeated for a second time and here is a pic of the pump fully assembled.

However, after it was assembled then the gap between the scavenge ports and the rotors needed to be checked and if the clearence wasn't at lease .080mm (which it wasn't) then the ports needed to be lapped in a similar fashion to the woodruff keys. It didn't take too long to do that and the gap was good after I reassembled it a 2nd time. Set screws hold the scavenge pumps to the cartridge so that the only items that move are the rotors inside the cartridge
Ok, now it is time for the oil pan. Here is a pic of the pan along with the packages holding the parts that will be installed.

After a couple of oil pan studs are installed in the block, the next items that are installed are two scavenge filter/strainers. They aren't hard to install but you have to make sure that the o-rings don't get torn during the process.


The next items are a plug and an oil line fitting.


And then the crank position sensor.


And then the locator dowels.


And finally the oil pan baffle plate followed by the seal for the oil pump inlet passage and the rear main seal (not pictured).

After putting rtv gasket silicone on the block, I was then able to install the oil pan.

And then it was time to install the oil scavenge pump into the oil pan. The left pic shows where it goes and the right pic shows it installed.


I still need to install the pulley and the only item that I wasn't able to move from the stock pan to the new pan was the oil filter boss. Unfortunately I can't find the jam nuts to allow me to unscrew the boss from the stock pan so I have put a call into HPD to see if I can get a couple of jam nuts sent to me. It felt good to get the oil pan installed though!
No comments:
Post a Comment