Monday, October 3, 2011

Honda Fit Part 1

The Honda Fit Engine arrived last week -- which was very exciting!  Two other large boxes were supposed to arrive with the engine but the shipping company missplaced those but delivered them the next day.   Here is a pic of the engine in the back of the pick-up.  The engine is totally stock and a lot of the stuff comes off of it and is replaced with performance parts. 


The other two boxes hold the performance parts plus a bunch of other stuff.  Here is what I saw when I opened the first of the two boxes.


Honda Performance Development (HPD) really did a great job packaging everything and providing instructions.  It is a pleasure to deal with them!

Ok, time to start pulling stuff off of the motor!  The first things to come off were the oxygen sensor and the catalytic converter.


I also removed the EGR pipe which is the curvy pipe that went from the engine to the converter.  Once those were removed, I covered the holes with tape just to keep any unwanted stuff out of the engine.


The throttle body was next to come off. 


Next was the EGR Valve, the intake manifold chamber, and the intake runner.


 Now its time for the wiring harness.


And then the water outlet.


Everything up to this point was pretty easy to remove.  However, it is now time for the harmonic balancer which is secured with an extreme amount of torque on the nut. 


Several have had major problems getting this off.  I tried the my impact gun but to no avail.  I then put a breaker bar on it and hit it with a 5 pound hammer but I realized that the crankshaft was turning so that wasn't going to work.  So, I needed to keep the crankshaft from moving.  Honda has a special tool for this but I realized that I had a tool that I used with my FV to keep the flywheel (and thus the crankshaft) from moving.  Here is a pic of that tool installed.


So, I went back to hitting the breaker bar with the 5 lb hammer and sure enough it loosened up enough so that I could get it off with the impact gun.  I forgot to take a pic of it removed though. 

Next, I needed to prepare the engine for an engine stand so that I could turn the engine upside down and get the oil pan off.  The manual didn't mention this but I learned from Sean Maisey's blog that the starter, clutch, and flywheel needed to come off so they were next.


Finally time for the engine stand!  I didn't have one so I borrowed one from a friend of mine.  I first hoisted the engine up with my engine hoist.  You can see the engine stand in the background.


And here it is on the stand -- looks pretty good!


And finally it is time to remove the oil pan.  The oil pan doesn't have a gasket and is sealed with silicone.  The manual gave good instructions to hit it front and back with a rubber mallet until the tone changed.  It was then pretty easy to pry off at the pry points.


The oil pump pickup and the studs were also removed.  I don't have pictures of it but there are locating dowls in the oil pan.  One stayed with the block but the other one came off with the pan.  It was not easy to remove with out damaging it but a friend came over and he heated the area around the dowel with a torch while I pulled up on it with needle nose pliers until it just released. 

There was also a water outlet nipple that needed to be removed which required a lot of heat.  It was screwed into the head but was secured with a high strength thread sealent.  Once the around the nipple was hot enough I was able to unscrew it.  A plug that came in the kit was then installed.

Since a race engine does not need an Exhaust Gas Regulaator (EGR) valve or the EGR piple, plates are provided to block off those holes.  The one shown below if for the EGR pipe.


Now for one of the most challenging tasks.  The race engine also doesn't need a PCV valve so the PCV nipple installed in the intake runner is not necessary.  I used a punch to tap the PCV nipple out of the intake runner but the hole then needed to be plugged.  A plug is provided and then the intake runner needed to be heated to 248 degrees so that the metal would expand enough to accept the plug -- easier said than done!  It took a while to get the temperature of the runner up to 248 degrees.  I also didn't want to set my workbench, or any of the stuff on it, on fire so I did it on the concrete floor.


After it was hot enough, I was able to get the plug started but eventually it would only move about a millimeter even after I reaheated it back up to temperature after it cooled down.  I never did get it absolutely flush like the instructions said but I got it very close -- I don't think it is going to come out!!


And that is it for now!!  More complicated engine stuff to come in the next installment!


Sunday, September 25, 2011

Bodywork Part 4

The bodywork continues and this weekend I switched to the cowling, at least I think that is what it is called.  The radio antenna mounts in it and it is the piece that fits over the dash and steering wheel.  There is a piece of copper that is on the underside that helps the radio work better and it was duct taped to the cowling but the duct tape was old and dryrotted so I decided to pop rivet it in place instead.  I used counter sunk rivets and then covered them with bondo so they wouldn't show.  Here are some pics.


That was an easy change.  The next one wasn't so easy -- and I'm still working on it.  On the right side of the car the gap between the cowling and the side panel is small and the way that it should be but on the right side the gap was too big in my opinion.


So, I started removing material where the two pieces meet.


After I removed about as much material as I felt comfortable with, I finally realized that I really needed to change the shape of the piece a little bit.  I needed to get the piece to flex a little bit so the best way to do that was to cut some slits in the piece which you can actually see in the picture on the right above.  But here is another pic.  You can also see the spider cracks in this piece which were most likely caused by forcing it to fit the way it should.  Getting fiberglass pieces to fit right can be very difficult!


By getting the piece to flex a little bit the gap has closed up nicely.  Of course, now I needed to permanently change the piece so that it fits right from now on.  So, I removed the gel coat on either side of the slits and taped the piece to the car and then fiberglassed over the slits.  The blue tape is just to protect the side panel from getting fiberglass resin on it.  I also fiberglassed the underside after the resin hardened.


The piece mounts to the chassis at the front and my changes to the left side of course changes how the hole lines up to the mounting point.  As you can see, the holes have been expanded quite a bit over the years so I took the opportunity to re-glass the piece and re-drill the holes.  I haven't finished that yet.


You can also see the piece of wood that is being used as a spacer on the cowling's right side (left picture above).  I will come up with something different but I haven't decided what yet.  

I have also been working on the nose and the shock cover but I haven't taken any pictures of them yet.  I haven't taken pictures of them because all I have been doing is repairing spider cracks. However, they aren't fitting the way I would like so I will be making some changes to those as well and will document those changes.

The engine kit was supposed to be delivered on Friday of last week but it was delayed and it should be delivered tomorrow (Monday).  Can't wait to see it!

Sunday, September 18, 2011

Bodywork Part 3

The weather was nice for doing bodywork so I was able to finish the right side panel.  Here are some before and after pics.


I'm also working on the nose and the shock cover but the HPD engine kit will be here this week so most of my attention will probably shift to that so that I can get the chassis and the engine to Eric Langbein.

Monday, September 5, 2011

Baltimore Grand Prix

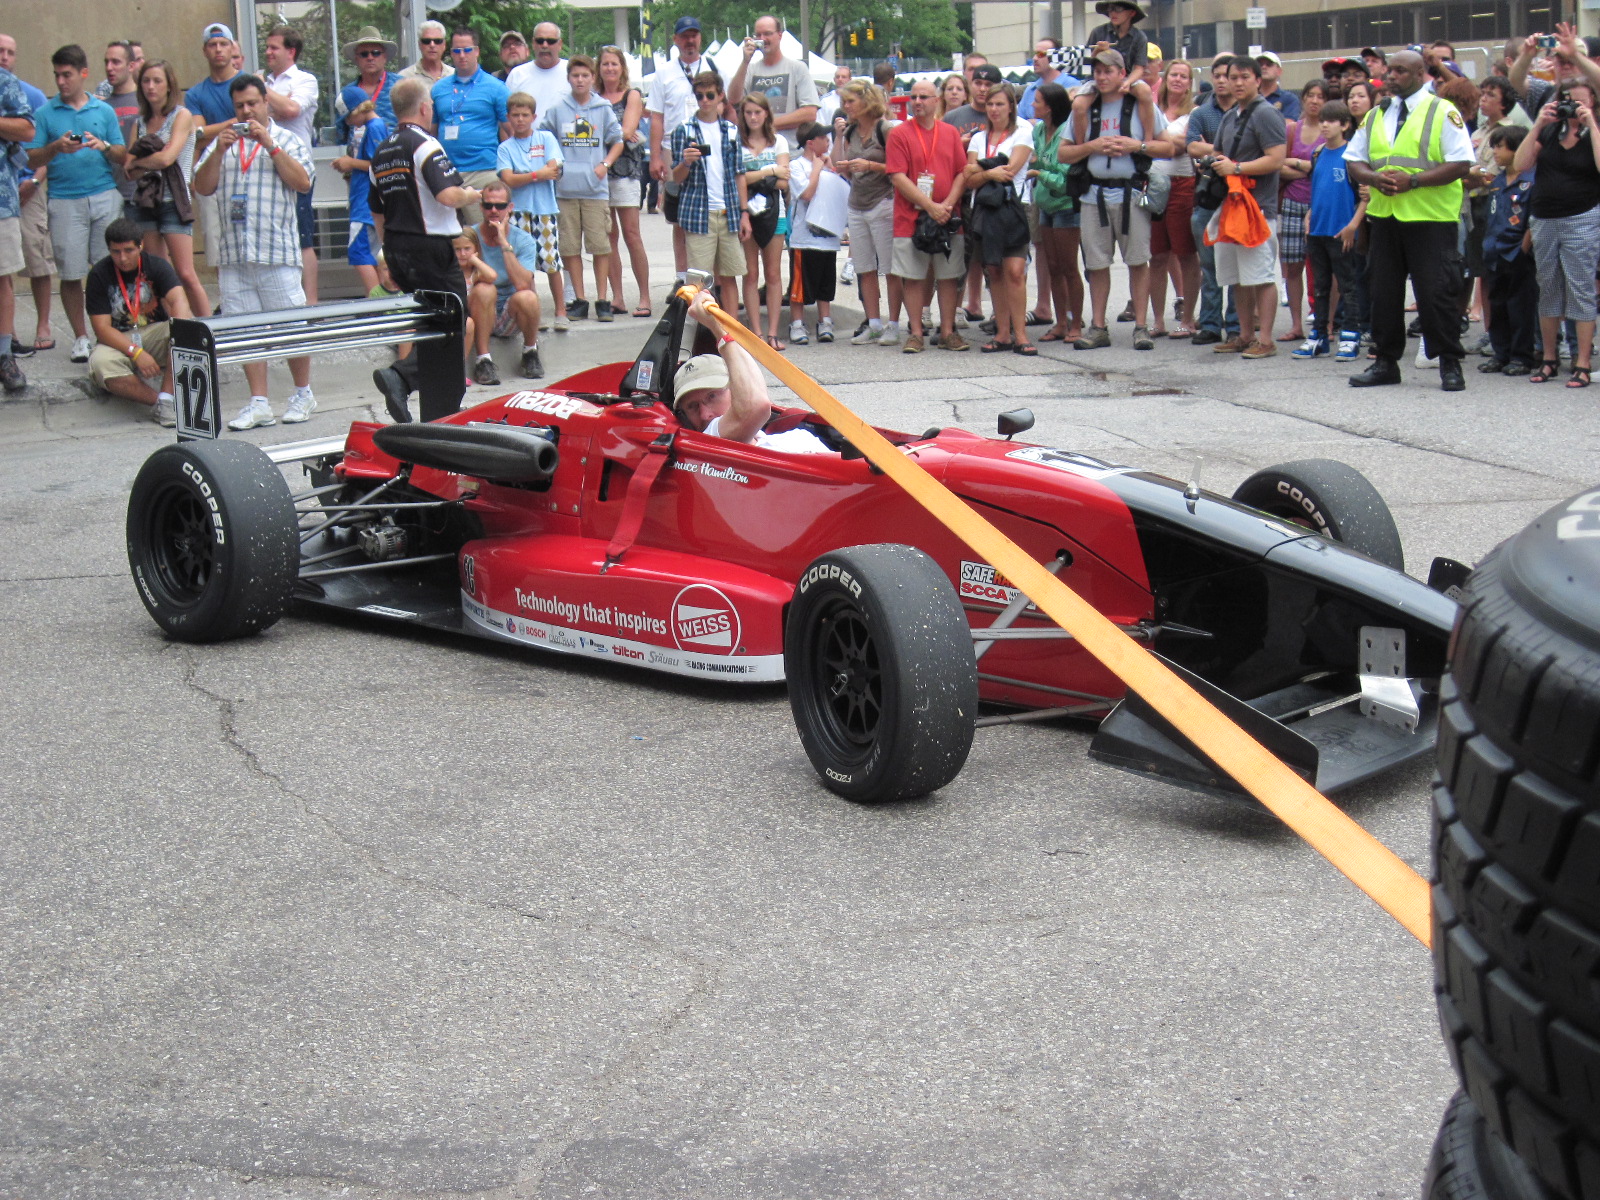
Well, I haven't gotten much work done on the car this weekend but I did spend the last three days at the Baltimore Grand Prix and ended up helping out Bruce Hamilton who was renting a USF2000 car from K-Hill Motorsports.  Eric Langbein was also there with his F2000 car and he did a great job in both races.  Here are some pics.


I am working on the right side panel of my car and will be posting before and after pics when I'm done with it.  The process is the same as I have shown for the left panel.  I also ordered the engine kit from HPD so hopefully I will have that by the end of September.

Tuesday, August 23, 2011

Articles

Got interviewed by a couple of different reporters for local newspapers.  They are both good but I think the second article turned out the best.

Leesburg Today Article

Loudoun Times Mirror Article

Sunday, August 21, 2011

Bodywork Part 2

I don't have as much to report after this weekend but I did get the left side panel of the race car finished up.  The templates that I made in order to locate the screw holes and the pushrod hole worked pretty well although I did have to re-do the screw hole at front and bottom of the panel and I also had to slightly elongate a couple of the holes at the back of the panel.  Here are pics of the front of the panel with it installed on the car along with the left front lower A Arm and pushrod.


I did have to spend some more time with the panel because it had a bow in it which caused cracks.  This is a picture of the right side panel which has the same issue.  Next to it is a pic of the left side panel installed on the car and it also shows the crack that needed repairing.


The reason why this happened is because the top of the panel had to be trimmed for the rocker arm.  By removing that material it weekend the panel in that area so I layed some fiberglass matt along the length of the panel on the back side where it was bowed and then layed a piece of fiberglass on the top of the panel.  Here is a pic of it after it was completed.


It seems strong enough now!  Next weekend I will start on the right side panel.


Sunday, August 14, 2011

Bodywork Part 1

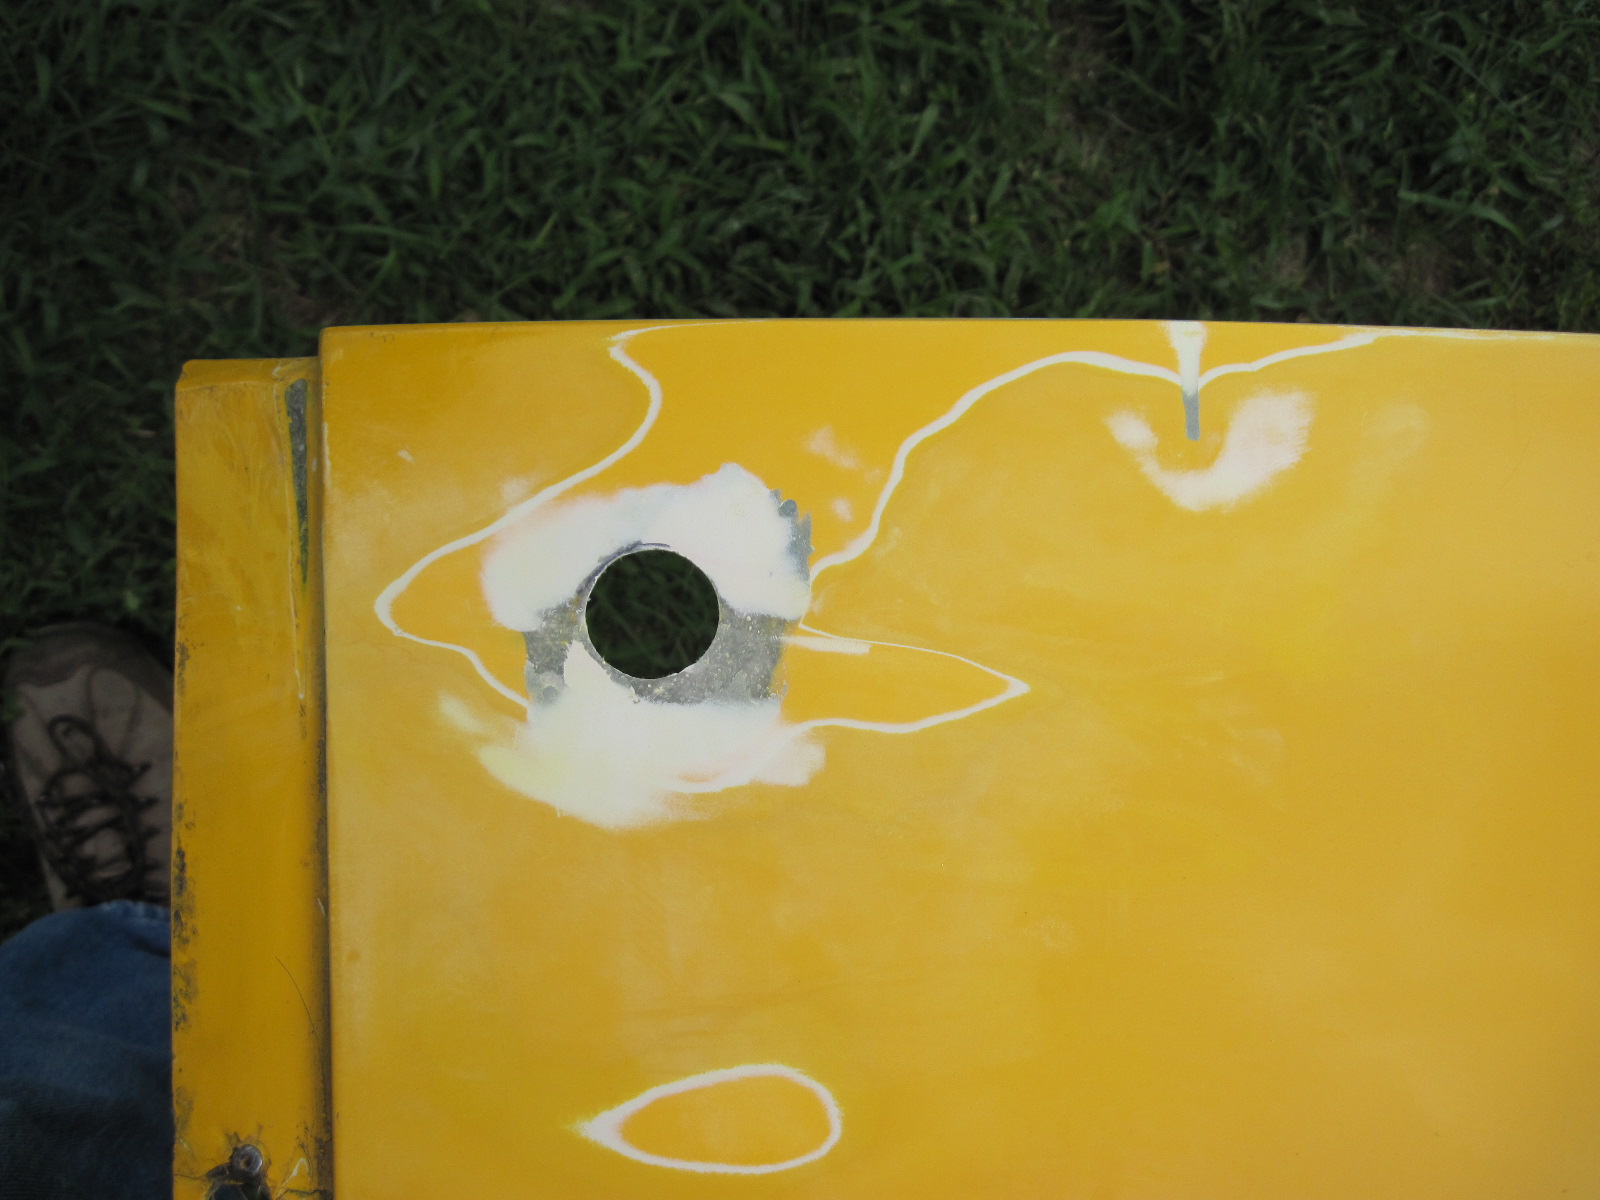
If there is one thing that I have done a lot of over the past 14 years of racing, it is bodywork--whether it was making a new piece or repairing existing pieces. This project is going to involve a lot of bodywork and what I'm tackling now is probably considered unneccesary to many because it is strictly aesthetic and isn't going to improve the performance of the car at all.  However, the car is going to get repainted and I plan on taking the car to car shows to continue my fund raising efforts for the Wounded Warrior Project so I figured I might as well make it look as good as I can since I have the time to do it.   First, I'm tackling the left side panel and here are pics of the areas that I'm repairing.

Again, there is nothing wrong with the hole where the pushrod connects to the rocker but I think it will look better if it was a perfectly round hole so that is what I'm going to shoot for.


This area of the bodywork had been repaired before and what I noticed was there was a high weld on the frame so I ended up grinding that down so there wouldn't be as much strain on the fiberglass after I repaired it.


Lots of spider cracks in this area and in other areas of the car.


A broken piece of fiberglass.


Properly lining up a fiberglass panel so that the holes are properly aligned with the nutcerts installed in the frame is always a huge challenge.  All of the holes on this panel had been changed multiple times plus some of the nutcerts were spinning.  I think all the nutcerts installed were metric and I'm used to working with 10-32 hardware so I ended up changing all the nutcerts to 10-32 and will fix the holes.


Ok, Lets get started!!

Again, figuring out where to drill holes in fibreglass so that they are in the perfect spot is a real challenge so I came up with the idea of creating a template in aluminum and drilling a couple of 1/8" holes in it so that I can fasten it to the fibreglass with cleco fasteners.  The 1/8" holes are very easy to fill in when I'm done with everything else.  I also created a template for the holes for the 10-32 screws along the bottom of the panel.


Repairing fiberglass is the perfect example of tearing something down in order to rebuild it.  The key with repairing fiberglass is to tear it down just enough so that you can use as much of the old material as possible.  I used a dremmel to create the troughs which is where spider cracks were.  This pic also shows how much material I removed where the lower A arm goes into the footwell.  I also sanded down the back side of this and every other place that I am repairing.


Here is the spot where the push rod connects to the rocker.  Notice how I left a ring of bare fiberglass around the hole.  This is important because new fiberglass will be able to bond to it.


And one of the small holes at the bottom of the panel.


This is the back side of the panel but I used a couple pieces of aluminum (one each side) to clamp the wet fiberglass to the panel until it hardened.  This helps it bond to the old material and keeps the panel straight.  I did the same thing when I fiberglassed the other side.


Before laying fiberglass matt on the panel, I used short strand fiberglass filler to fill in any low spots.  The fiberglass filler is much better then standard body filler in these applications because it is much stronger.


Here is the same area after sanding down the short strand fiberglass.


Here is the hole for the pushrod after I applied the short strand fiberglass and sanded it.  After I layed fiberglass mat on the back side, some of it protruded through the front side so I built it up more on the back side and then sanded it flat so that I could apply the filler and cover it with another piece of fiberglass mat.
Here is the panel after the fiberglass filler was applied and sanded.


And this is the panel after I appled "Icing" which is a body filler that is designed to fill in any small imperfections like pin holes.  It is also very easy to sand.  This is where I stopped this weekend so next weekend I will be sanding it smooth and getting it ready for paint.